To control 3rd party devices via IP, it's necessary to create a Virtual Device for each device. Now, if you're good at programming and learn the Lua language and look into the protocols that these devices use, it is possible for you to create the Virtual Devices yourself… but it's much easier if you just import one that someone else has written.
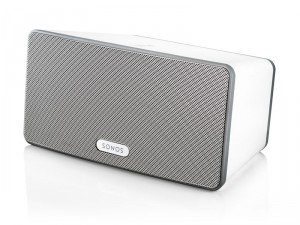
The forum at forum.fibaro.com is full of amazing people who love to write Lua code and many of them have put their hand to writing Virtual Devices for just about everything. One such person is the amazing Krikroff who wrote a Virtual Device for controlling Sonos.
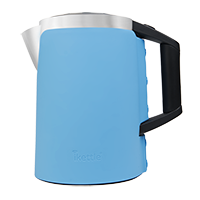
The iKettle is a fantastic device that allows you to boil your water at 65, 80, 95 and 100 degrees C. It can keep your water warm at that temperature after it has reached it and it can alert you if you forgot to put water in it! But the most exciting feature (as you may have guessed from the first letter in the name), it can do all this from your smart phone (on android 4.0 and above and iOS 7.0 +)
We have written a Virtual Device to control the iKettle and to receive feedback from it which can be used in other scenes on the Home Center 2. This allows the iKettle to be controlled not only from its native app, but from any smartphone or computer which can connect to the Fibaro System.
Once you have downloaded the Virtual Device you will need to unzip it and save the .vfib file somewhere you can find it again.
Now, log into your Home Center 2 and follow the following instructions to install the Virtual Device:
This will save your new iKettle virtual device and connect to it. If everything is working well, you will see the status of the iKettle at the bottom of the virtual device interface.
This global variable will be updated whenever the iKettle changes state. Making things happen (playing our sonos!) You can use the global variable (iKettleFB) to trigger other scenes to run. So… let's make the Sonos virtual device play when the iKettle boils. To do this create a new Lua scene:
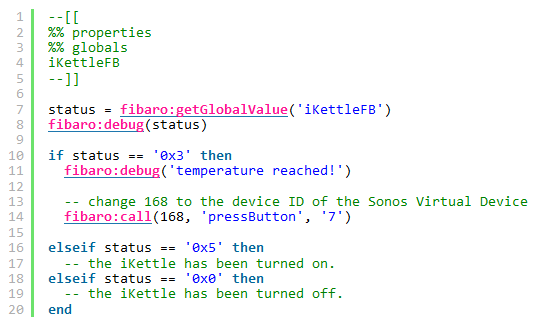
And there you have it: by creating Virtual Devices to control two completely independent devices, we have been able using the Home Center 2, to interconnect them and cause the Sonos to play when the iKettle boils!